 Python 학습하기👆

티스토리 뷰
반응형
1. 필요한 도구 설치
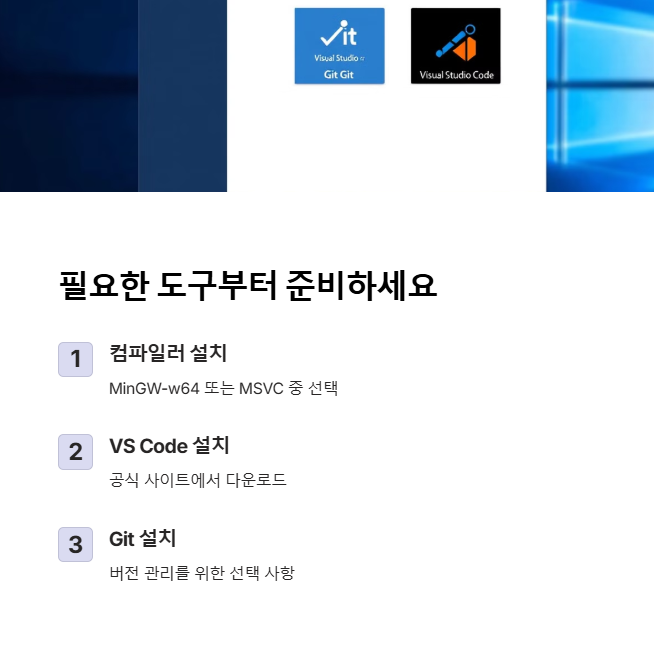
MinGW 또는 MSYS2 설치
- MSYS2 설치 (권장):
- MSYS2 웹사이트에서 설치 프로그램을 다운로드하고 실행합니다.
- 설치가 완료되면 MSYS2 터미널을 열고 다음 명령어로 패키지를 업데이트합니다:
pacman -Syu- 필요한 개발 도구를 설치합니다:
pacman -S mingw-w64-x86_64-toolchain - 환경 변수에 C:\msys64\mingw64\bin (또는 설치 경로) 추가하세요.
Visual Studio Code 설치
- VS Code 웹사이트에서 설치 프로그램을 다운로드하고 설치합니다.
2. VS Code 확장 설치
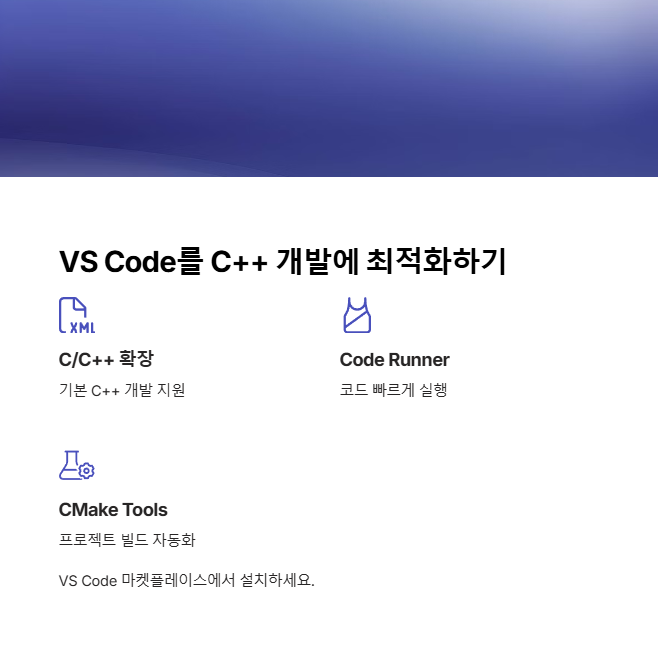
- VS Code를 실행하고 왼쪽 메뉴의 확장(Extensions) 아이콘을 클릭합니다.
- 다음 확장을 검색하여 설치하세요:
- C/C++: Microsoft의 C/C++ 확장
- C/C++ Extension Pack: 디버깅, IntelliSense 등 추가 기능 포함
- CMake Tools: CMake를 사용하는 경우
- Code Runner: 코드 실행을 간소화하는 도구
3. 프로젝트 폴더 설정

- VS Code를 실행하고 File > Open Folder를 선택하여 새 프로젝트 폴더를 생성하거나 기존 폴더를 엽니다.
- 폴더 구조 예시:
my_dll_project/
├── src/
│ ├── example.c
│ └── example.h
├── test/
│ └── test.c
├── CMakeLists.txt (또는 Makefile)
└── .vscode/
├── tasks.json
├── launch.json
└── c_cpp_properties.json
4. VS Code 설정 파일 생성
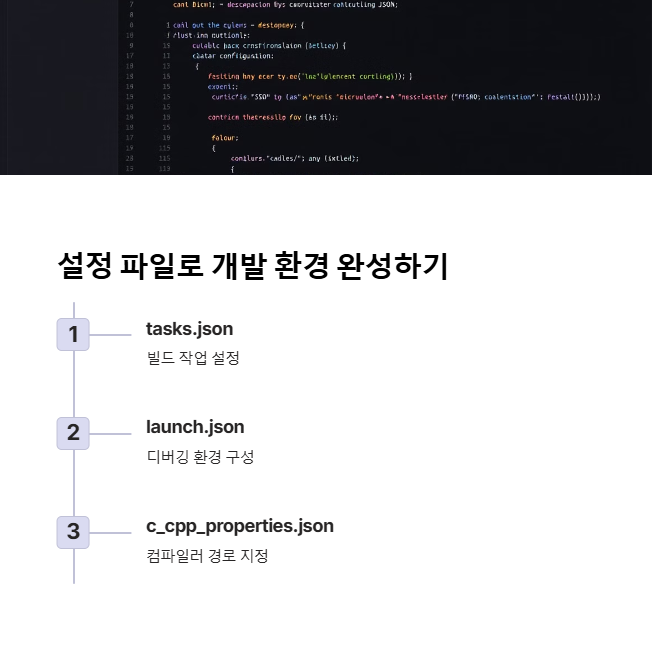
c_cpp_properties.json 생성
- Ctrl+Shift+P를 누르고 C/C++: Edit Configurations (UI)를 선택합니다.
- 다음과 같이 설정합니다:
- Compiler path: C:/msys64/mingw64/bin/gcc.exe (설치 경로에 맞게 조정)
- IntelliSense mode: windows-gcc-x64
- Include path: 필요한 경로 추가
{
    "configurations": [
        {
            "name": "Win32",
            "includePath": [
                "${workspaceFolder}/**"
            ],
            "defines": [
                "_DEBUG",
                "UNICODE",
                "_UNICODE",
                "BUILDING_DLL"
            ],
            "compilerPath": "C:/msys64/mingw64/bin/gcc.exe",
            "cStandard": "c11",
            "cppStandard": "c++17",
            "intelliSenseMode": "windows-gcc-x64"
        }
    ],
    "version": 4
}
tasks.json 생성
- Terminal > Configure Tasks...를 선택하고 Create tasks.json file from template를 클릭합니다.
- Others를 선택하고 다음과 같이 수정합니다:
{
    "version": "2.0.0",
    "tasks": [
        {
            "label": "Build DLL",
            "type": "shell",
            "command": "gcc",
            "args": [
                "-c",
                "-DBUILDING_DLL",
                "${workspaceFolder}/src/example.c",
                "-o",
                "${workspaceFolder}/src/example.o",
                "&&",
                "gcc",
                "-shared",
                "-o",
                "${workspaceFolder}/example.dll",
                "${workspaceFolder}/src/example.o",
                "-Wl,--out-implib,${workspaceFolder}/libexample.a"
            ],
            "group": {
                "kind": "build",
                "isDefault": true
            },
            "problemMatcher": ["$gcc"],
            "options": {
                "shell": {
                    "executable": "cmd.exe",
                    "args": ["/c"]
                }
            }
        },
        {
            "label": "Build Test",
            "type": "shell",
            "command": "gcc",
            "args": [
                "-o",
                "${workspaceFolder}/test.exe",
                "${workspaceFolder}/test/test.c",
                "-L${workspaceFolder}",
                "-lexample"
            ],
            "group": "build",
            "problemMatcher": ["$gcc"],
            "dependsOn": ["Build DLL"],
            "options": {
                "shell": {
                    "executable": "cmd.exe",
                    "args": ["/c"]
                }
            }
        }
    ]
}
launch.json 생성
- Run > Add Configuration...를 선택하고 C/C++: (gdb) Launch를 선택합니다.
- 다음과 같이 설정합니다:
{
    "version": "0.2.0",
    "configurations": [
        {
            "name": "Debug Test Application",
            "type": "cppdbg",
            "request": "launch",
            "program": "${workspaceFolder}/test.exe",
            "args": [],
            "stopAtEntry": false,
            "cwd": "${workspaceFolder}",
            "environment": [],
            "externalConsole": false,
            "MIMode": "gdb",
            "miDebuggerPath": "C:/msys64/mingw64/bin/gdb.exe",
            "setupCommands": [
                {
                    "description": "Enable pretty-printing for gdb",
                    "text": "-enable-pretty-printing",
                    "ignoreFailures": true
                }
            ],
            "preLaunchTask": "Build Test"
        }
    ]
}
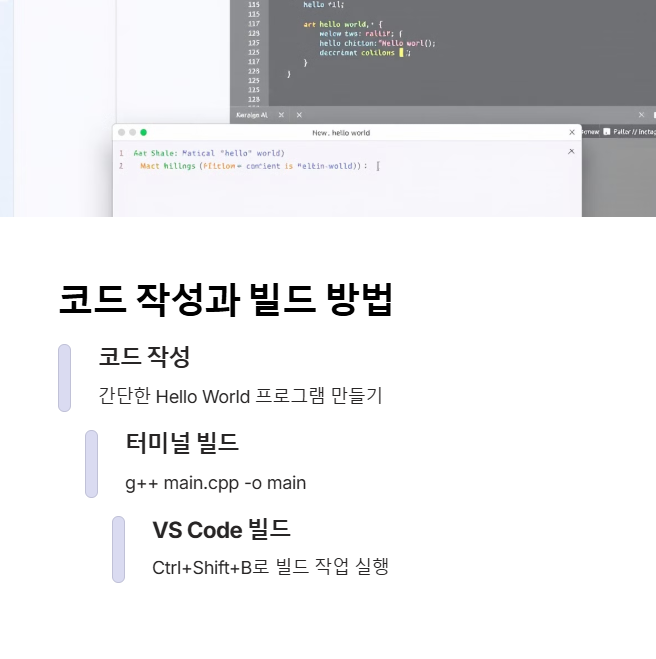
5. 소스 코드 작성
- 예제 헤더 파일 src/example.h 생성:
#ifndef EXAMPLE_H
#define EXAMPLE_H

#ifdef __cplusplus
extern "C" {
#endif

#ifdef BUILDING_DLL
#define DLLIMPORT __declspec(dllexport)
#else
#define DLLIMPORT __declspec(dllimport)
#endif

DLLIMPORT int add(int a, int b);

#ifdef __cplusplus
}
#endif

#endif // EXAMPLE_H
- 구현 파일 src/example.c 생성:
#include "example.h"

DLLIMPORT int add(int a, int b) {
    return a + b;
}
- 테스트 파일 test/test.c 생성:
#include <stdio.h>
#include "../src/example.h"

int main() {
    int result = add(5, 7);
    printf("5 + 7 = %d\n", result);
    return 0;
}
6. CMake 사용 (선택사항)

CMake를 사용하려면, 프로젝트 루트에 CMakeLists.txt 파일을 생성합니다:
cmake_minimum_required(VERSION 3.10)
project(ExampleDLL C)

set(CMAKE_C_STANDARD 99)

# 소스 파일 정의
set(DLL_SOURCES src/example.c)
set(TEST_SOURCES test/test.c)

# DLL 빌드 설정
add_library(example SHARED ${DLL_SOURCES})
target_compile_definitions(example PRIVATE BUILDING_DLL)
target_include_directories(example PUBLIC ${CMAKE_CURRENT_SOURCE_DIR}/src)

# 테스트 애플리케이션 빌드
add_executable(test_app ${TEST_SOURCES})
target_link_libraries(test_app example)
CMake 확장을 설치한 후, VS Code에서 CMake 프로젝트를 설정하려면:
- Ctrl+Shift+P를 누르고 CMake: Configure를 선택합니다.
- 컴파일러 선택 창에서 GCC를 선택합니다.
- 빌드하려면 CMake: Build를 선택합니다.
7. 빌드 및 실행
- DLL 빌드:
- Ctrl+Shift+B를 눌러 기본 빌드 태스크(Build DLL)를 실행합니다.
- 테스트 애플리케이션 빌드 및 실행:
- Run > Start Debugging 또는 F5를 눌러 테스트 애플리케이션을 빌드하고 디버깅 모드로 실행합니다.
- 디버깅:
- 중단점을 설정하려면 코드 왼쪽 여백을 클릭합니다.
- 디버그 콘솔에서 변수 값을 확인하고 단계별로 실행할 수 있습니다.
라이선스 정보
모든 언급된 도구와 라이브러리는 무료 오픈 소스이며 라이선스 구매가 필요 없습니다:
- MinGW/MSYS2: GNU 일반 공중 라이선스(GPL)
- GCC: GNU 일반 공중 라이선스(GPL)
- Visual Studio Code: MIT 라이선스
- CMake: BSD 3-Clause 라이선스
이러한 도구를 사용하면 Visual Studio 없이도 무료로 Win32 DLL을 개발할 수 있습니다. 특히 Visual Studio Code는 가볍고 확장성이 뛰어나 개발 환경으로 적합합니다.
'개발 > 그 외 개발관련' 카테고리의 다른 글
| CAN 통신 완전 정복: 자동차부터 산업 장비까지 (0) | 2025.03.27 |
|---|---|
| 자동차 진단 프로토콜 UDS(ISO 14229) 개념과 활용 (0) | 2025.03.17 |
| TRACE32 자주 사용하는 기능 소개 (0) | 2025.02.12 |
| TRACE32란? 고급 디버깅 및 트레이스 분석 툴의 모든 것 (0) | 2025.02.12 |
| 자동차 통신 CAN FD란? (0) | 2025.02.07 |